Updating Taxes
Overview
This topic describes how to add or update tax districts and the corresponding tax rates. Taxes rarely need updating, so they're tucked away in the customer window, the only place where you use them.
Actually, you don't use taxes at all in the Free, Passport, and Express editions. The only reason they're included there is because all Morning Flight editions use the same data files. Setting up taxes now will save you from having to update each customer later, one at a time, when you decide to upgrade to add job entry and invoicing.

Step One
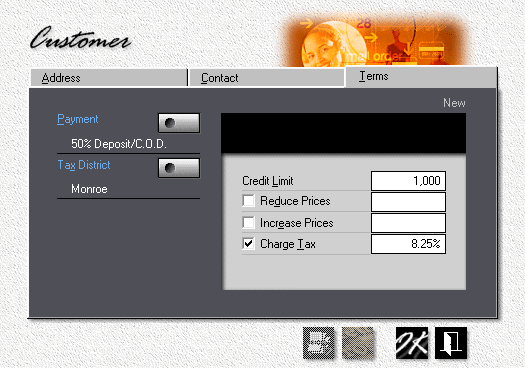
We're not actually going to add a new customer. We're just opening the customer window so we can access the tax selection window.
1.![]() Click the My Store button, then click My Customers.
Click the My Store button, then click My Customers.
2.![]() Click the Add button to add a new Customer.
Click the Add button to add a new Customer.
3.Click the Terms tab, then click the Tax District button.

Step Two
1.![]()
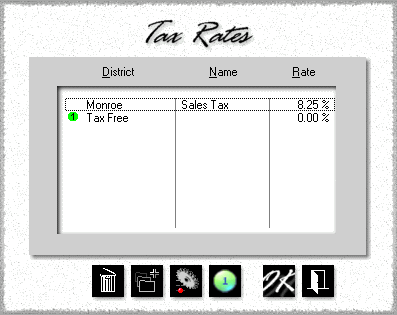
![]() Click either the Add button to add a new tax district, or the Update button to edit an existing one. For this demo, we'll add a new tax district.
Click either the Add button to add a new tax district, or the Update button to edit an existing one. For this demo, we'll add a new tax district.

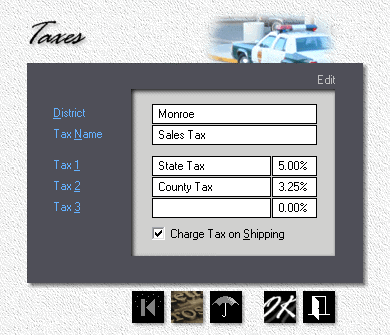
2.Enter the new Tax District and Tax Name.
3.Enter the Type of Tax and the Percentage.
4.If Shipping is taxable, check the box.
5.Click OK to accept and close the tax update window, but don't close the tax selection window just yet.
6.![]() To make the new tax district your primary district (your default), place the highlight bar over it in the tax selection window, then click the Number 1 button. Now click OK.
To make the new tax district your primary district (your default), place the highlight bar over it in the tax selection window, then click the Number 1 button. Now click OK.

See also
